Share
Description
There are multiple ways you can share a shape, you can share it with specific people or share it with an entire team. Follow the steps below if you do not know how to share a shape yet.
Access limitations
- You will not be able to
sharea shape if you only have areadorwriteaccess level.
Share via email
- Open a shape
- Click on the share button at the top right corner in the shape studio

- a Modal will pop up with the option to
Add item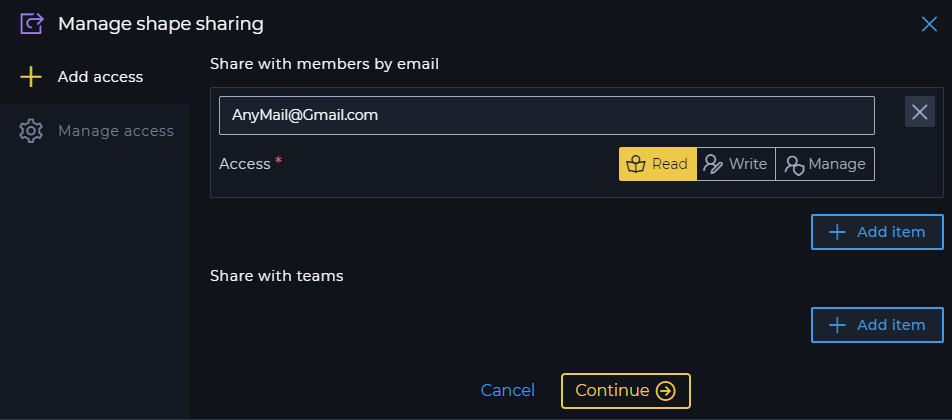
- Add a
email - Select the
accesslevel - Click
Continue
Email access levels
- Read: Allows you to use the shape, but cannot edit or reshare the shape
- Write: Allows you to edit and use the shape, but cannot reshare the shape
- Manage: Allows you to edit, use and reshare the shape
Share with an entire team
- Open a shape
- Click on the share button at the top right corner in the shape studio
- a Modal will pop up with the option to
Add item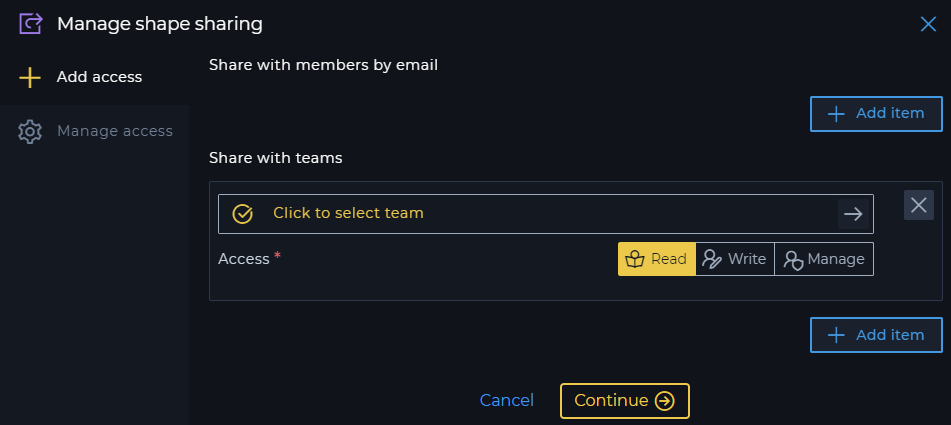
- Select a
team - Select the
accesslevel - Click
Continue
Team access levels
- Read: Allows the team to use the shape, but cannot edit or reshare the shape
- Write: Allows the team to edit and use the shape, but cannot reshare the shape
- Manage: Allows the team to edit, use and reshare the shape
Change access level
- Open a shape
- Click on the share button at the top right corner in the shape studio
- a Modal will pop up with multiple tabs on the left hand side
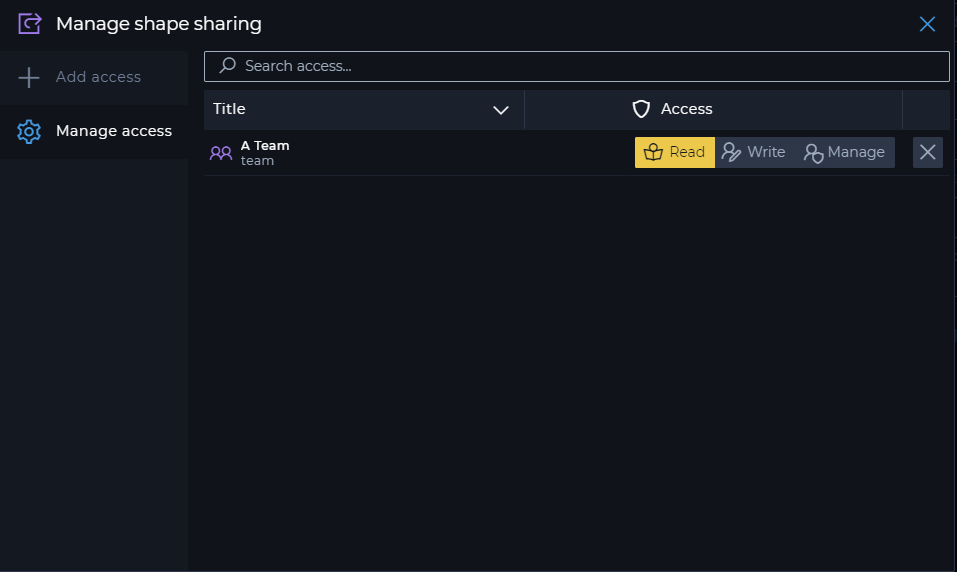
- Click on the
Manage accesstab - Alter the
access level - Then you will be given a option to
confirmorcancel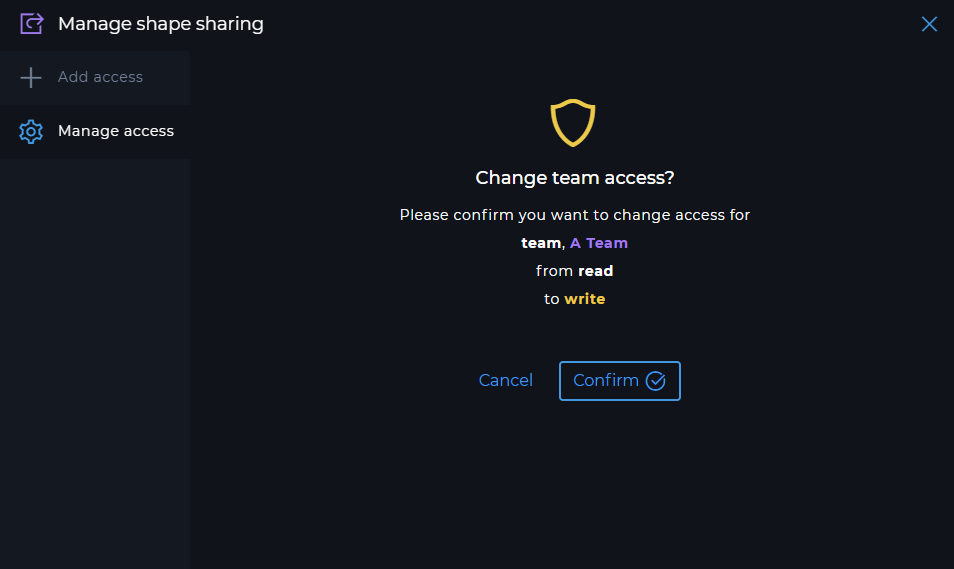
- Click
Confirm
Remove access level
- Open a shape
- Click on the share button at the top right corner in the shape studio
- a Modal will pop up with multiple tabs on the left hand side
- Click on the
Manage accesstab - Remove the
userorteamby clicking on the cross button. - Then you will be given a option to
confirmorcancel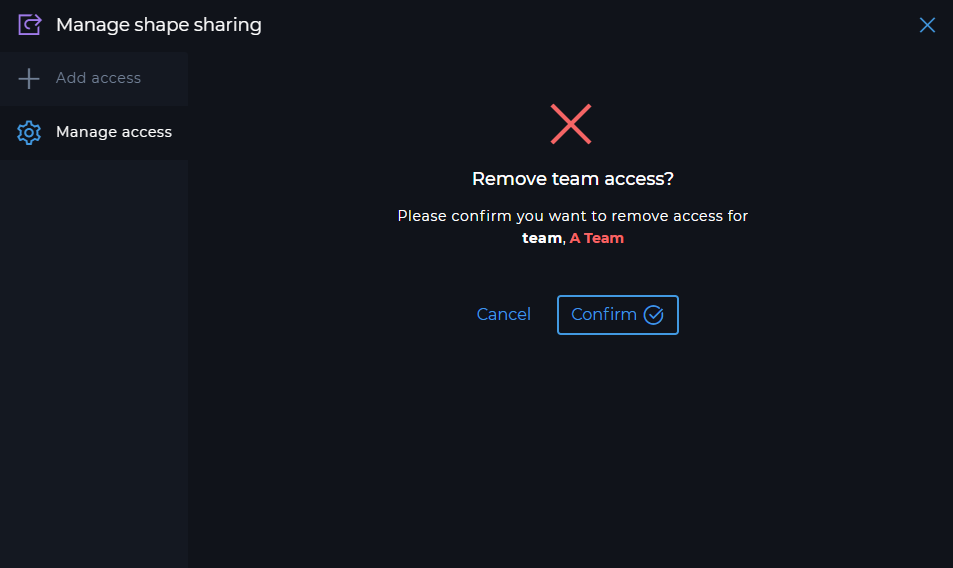
- Click
Confirm